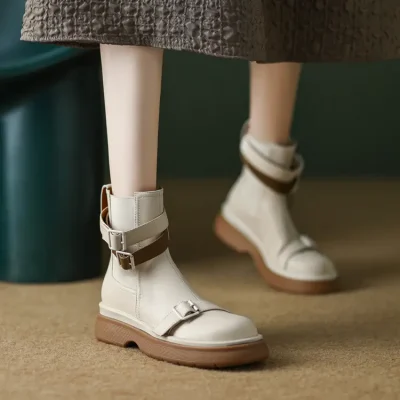
Replacing and repairing boot soles can extend the life of your favorite boots and save you money on buying new ones. Here’s a general guide on how to replace and repair boot soles:
1. Assess the Damage
- Inspect the Soles: Determine the extent of the damage to the existing soles. Look for signs of wear, separation, or damage to the tread.
- Evaluate the Boots: Consider the overall condition of the boots and whether they’re worth repairing. If the uppers are in good shape, it’s often worth investing in sole replacement.
2. Gather Materials and Tools
- Replacement Soles: Purchase replacement soles suitable for your boots. These can be purchased from shoe repair shops, cobblers, or online retailers.
- Adhesives: Depending on the type of sole and boot material, you may need shoe glue or adhesive.
- Tools: Common tools include a utility knife, sandpaper, wire brush, hammer, and shoe repair stitching awl. You may also need a sole press or shoe last for more complex repairs.
3. Remove the Old Soles
- Cutting: Use a utility knife to carefully cut away the old sole material, starting from the edges and working inward. Take care not to damage the boot upper.
- Cleaning: Remove any remaining adhesive or debris from the boot sole using sandpaper or a wire brush. Clean the area thoroughly to ensure good adhesion for the new sole.
4. Apply Adhesive
- Preparation: Follow the manufacturer’s instructions for preparing the adhesive. Apply the adhesive to both the boot sole and the replacement sole, ensuring even coverage.
- Allow for Drying: Let the adhesive dry to a tacky consistency according to the manufacturer’s recommendations. This usually takes a few minutes.
5. Attach the New Soles
- Alignment: Carefully align the replacement sole with the boot upper, ensuring it’s positioned correctly before pressing it firmly into place.
- Pressing: Use a shoe press or apply pressure by hand to ensure the sole adheres securely to the boot. You can also place the boots under heavy objects to apply pressure while the adhesive sets.
6. Finish the Edges
- Trimming: Once the adhesive has fully cured, use a utility knife to trim any excess sole material from the edges of the boots. Take care to maintain a clean and even edge.
- Smoothing: Use sandpaper to smooth out any rough edges or uneven areas, ensuring a professional finish.
7. Optional: Stitching or Resoling
- Stitching: For more complex repairs or to reinforce the bond between the sole and the boot upper, consider stitching around the perimeter of the sole using a shoe repair stitching awl.
- Resoling: In some cases, it may be necessary to have the boots professionally resoled by a cobbler, especially if the damage is extensive or if the boots require specialized equipment for repair.
8. Allow for Curing Time
- Drying: Allow the adhesive to fully cure according to the manufacturer’s recommendations before wearing the boots. This typically takes 24 to 48 hours, depending on the type of adhesive used.
9. Maintenance and Care
- Regular Maintenance: To prolong the life of your repaired boots, regularly clean and condition the leather uppers and inspect the soles for signs of wear or damage.
- Prompt Repairs: Address any new damage or wear to the soles promptly to prevent further damage and prolong the life of your boots.
By following these steps and taking care during the repair process, you can effectively replace and repair boot soles to keep your favorite footwear in top condition for years to come. If you’re unsure about any step or if the damage is extensive, consider seeking assistance from a professional cobbler or shoe repair shop.


