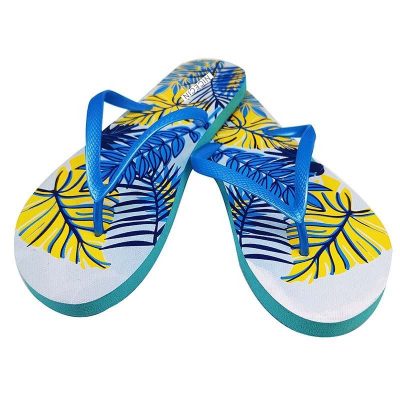
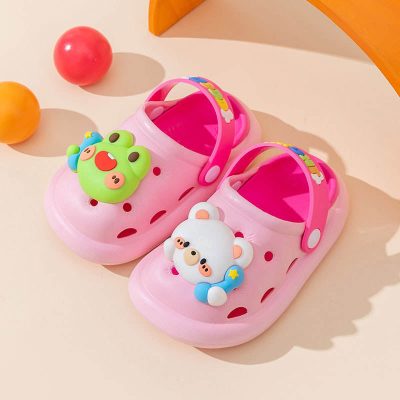
Replacing slipper soles can breathe new life into your favorite pair of slippers, extending their lifespan and restoring comfort and functionality. Here’s a step-by-step DIY guide on how to replace slipper soles:
Tools and Materials Needed:
- New slipper soles (rubber, EVA foam, etc.)
- Utility knife or sharp scissors
- Adhesive suitable for footwear (shoe glue or contact cement)
- Marker or pen
- Sandpaper (optional)
- Clean cloth
- Clamps or heavy books (optional)
- Protective gloves (optional)
Step 1: Prepare the Slippers
- Remove the old soles: Use a utility knife or sharp scissors to carefully cut away the old soles from the slippers. Take your time to avoid damaging the upper part of the slippers.
- Clean the slippers: Use a clean cloth to wipe away any remaining debris or adhesive residue from the slippers. Ensure the surface is clean and dry before proceeding.
Step 2: Trace the New Soles
- Place the new slipper soles on a flat surface with the textured side facing down.
- Position the slippers on top of the new soles and trace around the edges with a marker or pen. Trace slightly larger than the actual size of the slippers to allow for trimming.
Step 3: Cut Out the New Soles
- Use a utility knife or sharp scissors to carefully cut along the traced lines to create the new slipper soles. Take care to cut accurately and follow the shape of the slippers.
- If necessary, use sandpaper to smooth out any rough edges or uneven areas on the new soles.
Step 4: Apply Adhesive
- Apply a thin, even layer of adhesive to the underside of the new slipper soles and the corresponding surface of the slippers. Use a shoe glue or contact cement suitable for footwear.
- Follow the manufacturer’s instructions for the adhesive and allow it to become tacky before proceeding to the next step.
Step 5: Attach the New Soles
- Carefully position the new slipper soles onto the bottom of the slippers, aligning them with the edges and ensuring proper placement.
- Press down firmly to bond the soles to the slippers, applying even pressure to ensure a strong and secure attachment.
- Use clamps or heavy books to apply additional pressure and hold the soles in place while the adhesive sets, if necessary.
Step 6: Allow to Dry
- Allow the adhesive to dry completely according to the manufacturer’s instructions. This may take several hours or overnight, depending on the type of adhesive used.
- Avoid wearing the slippers until the adhesive has fully cured to ensure a strong and durable bond.
Step 7: Trim Excess Material (Optional)
- If there is any excess material protruding beyond the edges of the slippers, carefully trim it away with a utility knife or sharp scissors.
- Take care not to cut into the upper part of the slippers or the newly attached soles.
Step 8: Final Touches
- Once the adhesive has fully dried and the new soles are securely attached, inspect the slippers to ensure everything is properly aligned and trimmed.
- Put on your newly resoled slippers and enjoy the comfort and support of your refreshed footwear!
Safety Precautions:
- When working with adhesives, ensure adequate ventilation and use protective gloves if necessary to avoid skin contact.
- Exercise caution when using sharp tools such as utility knives or scissors to prevent accidental cuts or injuries.
- Follow all safety guidelines and instructions provided by the adhesive manufacturer.
By following this DIY guide, you can easily replace the soles of your slippers and give them a new lease on life. With proper care and maintenance, your newly resoled slippers will provide comfort and support for many more wearings to come!


