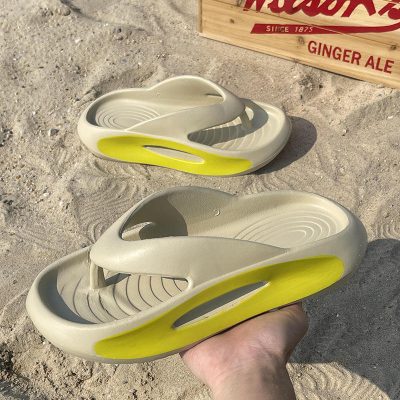
Replacing worn-out flip-flop soles can extend the life of your favorite footwear and save you money. Here’s a step-by-step DIY guide to help you replace flip-flop soles effectively:
Materials You’ll Need:
- Replacement Soles: Rubber, EVA, or any preferred material.
- Strong Adhesive: Shoe glue or a strong contact cement.
- Utility Knife or Scissors: For cutting the new soles.
- Sandpaper: Medium-grit for prepping the surfaces.
- Pencil or Chalk: For tracing the flip-flop shape.
- Clamps or Heavy Objects: To press the soles together while drying.
- Protective Gloves: For safety when using adhesive and cutting tools.
Step-by-Step Guide:
Step 1: Remove the Old Soles
- Detach Carefully: Use a utility knife to carefully cut and peel off the old soles. If they’re glued on, work slowly to avoid damaging the upper part of the flip-flop.
- Clean the Surface: Remove any remaining adhesive or debris from the flip-flop base using sandpaper. This ensures a smooth surface for the new soles to adhere to.
Step 2: Prepare the Replacement Soles
- Trace the Shape: Place the flip-flop upper on the replacement sole material and trace around it with a pencil or chalk.
- Cut the New Soles: Use a utility knife or scissors to cut out the new soles. Make sure to cut just outside the traced line for a perfect fit.
- Sand the Edges: Smooth the edges of the new soles with sandpaper for a clean finish.
Step 3: Apply Adhesive
- Follow Instructions: Read the adhesive manufacturer’s instructions carefully. Some adhesives require application to both surfaces and a waiting period before bonding.
- Apply Evenly: Spread a thin, even layer of adhesive on the bottom of the flip-flop upper and the top of the new sole.
Step 4: Attach the New Soles
- Align Carefully: Align the new sole with the flip-flop upper carefully. Once aligned, press firmly to ensure good contact.
- Clamp or Press: Use clamps or place heavy objects on top of the flip-flops to apply pressure while the adhesive sets. Follow the adhesive’s recommended drying time.
Step 5: Finishing Touches
- Check the Bond: After the adhesive has fully dried, check the bond by flexing the flip-flops gently. Ensure there are no loose edges.
- Trim Excess Material: If there’s any excess material, trim it carefully with a utility knife.
- Smooth Edges Again: Sand any rough edges for a clean, professional look.
Tips for Success:
- Work in a Well-Ventilated Area: Adhesives can emit strong fumes, so ensure you’re working in a well-ventilated space.
- Use Protective Gear: Wear gloves to protect your hands from adhesive and sharp tools.
- Choose Quality Materials: Investing in high-quality replacement soles and adhesive will improve the durability and comfort of your repaired flip-flops.
- Test Fit Before Gluing: Place the new soles against the flip-flops before applying glue to ensure they fit perfectly.
Conclusion
Replacing worn-out flip-flop soles is a straightforward DIY project that can breathe new life into your favorite footwear. By carefully removing the old soles, preparing and attaching new ones with strong adhesive, and following the tips for a clean finish, you can enjoy comfortable and stylish flip-flops for many more seasons.


