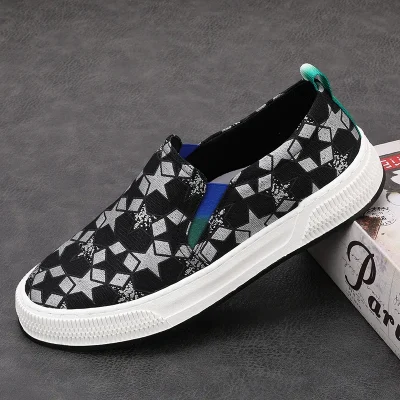
Restoring old sneakers can be a rewarding process that extends the life of your favorite shoes and preserves their value. Here’s a comprehensive guide to help you bring your sneakers back to life:
Step-by-Step Sneaker Restoration Guide
1. Initial Assessment and Cleaning
Materials Needed:
- Soft brush
- Toothbrush
- Mild detergent
- Warm water
- Microfiber cloths
- Magic eraser
Steps:
- Inspect the Sneakers: Check for any significant damage like sole separation, deep scratches, or tears. This will help you decide if they are restorable or need professional help.
- Remove Laces and Insoles: Take out the laces and insoles for a thorough cleaning. You can wash them separately in a mild detergent solution.
- Dry Cleaning: Use a soft brush to remove loose dirt and dust from the surface.
- Wet Cleaning:
- Mix a small amount of mild detergent with warm water.
- Dip the brush or toothbrush into the solution and gently scrub the sneakers.
- Pay extra attention to heavily soiled areas.
- Use a magic eraser for scuffs and marks on midsoles.
- Wipe with a damp microfiber cloth and let air dry.
2. Deep Cleaning and Stain Removal
Materials Needed:
- Baking soda
- White vinegar
- Hydrogen peroxide
- Rubbing alcohol
- Cotton swabs
Steps:
- Stain Removal:
- Oil Stains: Sprinkle baking soda on the stain, let it sit for a few hours, then brush off and clean with a detergent solution.
- Grass and Mud Stains: Create a paste of baking soda and white vinegar. Apply to the stain, scrub gently, and rinse.
- Ink Stains: Dab with a cotton swab soaked in rubbing alcohol, then clean with a detergent solution.
- Disinfecting and Whitening:
- For white sneakers, mix hydrogen peroxide with baking soda to create a paste. Apply to yellowed areas and leave it in the sun for a few hours, then rinse off.
3. Midsole and Outsole Restoration
Materials Needed:
- Soft brush
- Midsole paint or touch-up pen
- Sandpaper (fine grit)
- Shoe glue
- Clamps or heavy objects
Steps:
- Cleaning: Scrub the midsole and outsole with a brush and detergent solution to remove dirt and grime.
- Repainting:
- Use sandpaper to smooth any rough areas.
- Apply midsole paint or use a touch-up pen to cover scuffs and restore color.
- Let the paint dry completely before moving on.
- Sole Repair:
- For minor sole separation, apply shoe glue to the affected area.
- Press and hold the parts together using clamps or heavy objects until the glue sets.
4. Upper Restoration
Materials Needed:
- Leather conditioner (for leather sneakers)
- Fabric protectant spray
- Suede brush and eraser (for suede sneakers)
- Patch kit (for fabric or mesh)
Steps:
- Leather Sneakers:
- Apply leather conditioner to soften and restore flexibility.
- Use a microfiber cloth to buff the leather and bring back the shine.
- Suede Sneakers:
- Gently brush the suede with a suede brush to remove dirt.
- Use a suede eraser for tougher stains and marks.
- Apply a suede protectant spray to prevent future stains.
- Fabric/Mesh Sneakers:
- Use a patch kit to repair any small tears or holes.
- Apply a fabric protectant spray to shield against future dirt and stains.
5. Finishing Touches
Materials Needed:
- New laces (optional)
- Insoles (optional)
- Fabric freshener spray
Steps:
- Replace Laces and Insoles: Consider replacing old, worn-out laces and insoles with new ones for a fresher look and feel.
- Deodorize: Spray a fabric freshener inside the sneakers to eliminate any lingering odors.
- Final Inspection: Give the sneakers a final check to ensure all repairs are solid and they look as good as possible.
Additional Tips
- Storage: Store your sneakers in a cool, dry place to prevent damage. Use shoe trees to maintain their shape.
- Regular Maintenance: Regularly clean and condition your sneakers to keep them looking new for longer.
- Seek Professional Help: For complex repairs or valuable sneakers, consider professional restoration services.
By following these steps, you can effectively restore your old sneakers, giving them a new lease on life and ensuring they remain a valuable part of your collection.


